Wood-framed residential and light commercial wall assemblies
Continuous exterior insulation applications
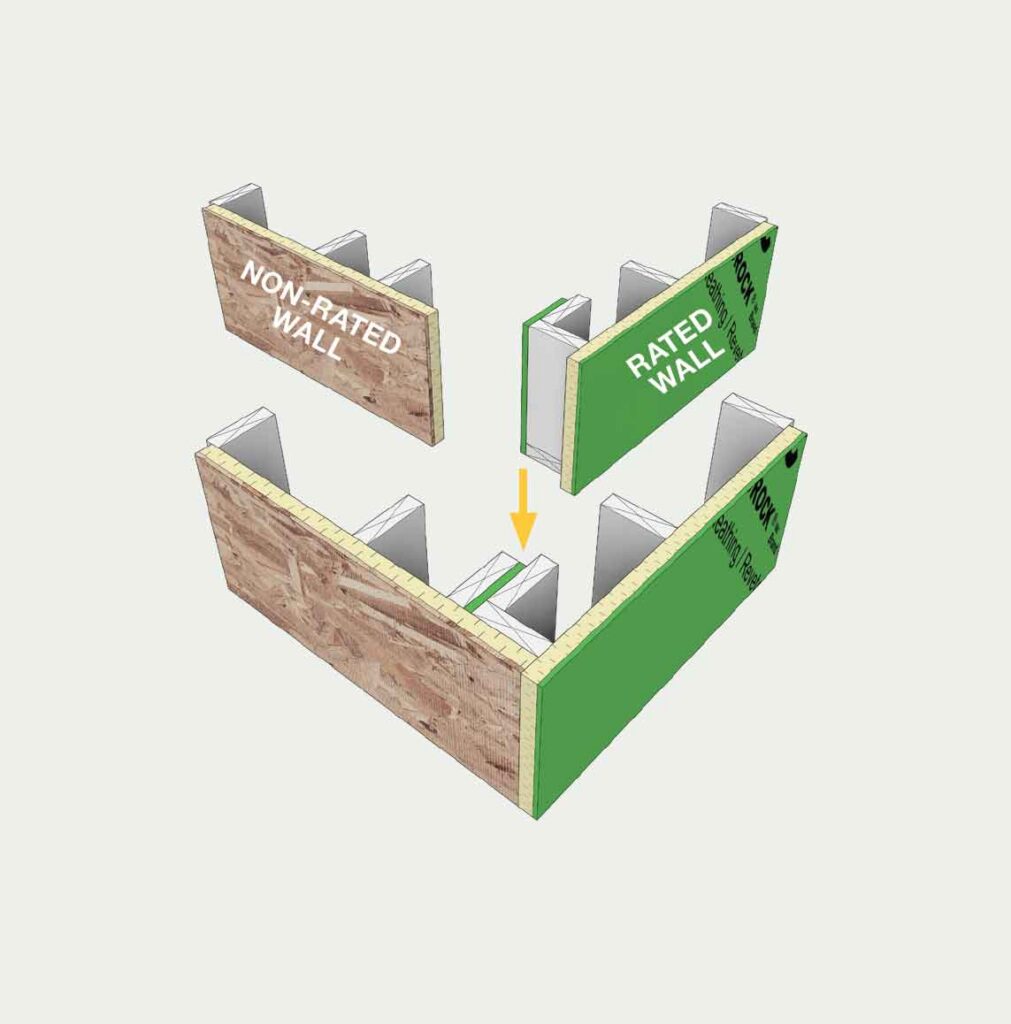
Zero lot line wall assemblies using BTRboard FIRE-X
Continuous insulation retrofits
Project-specific applications
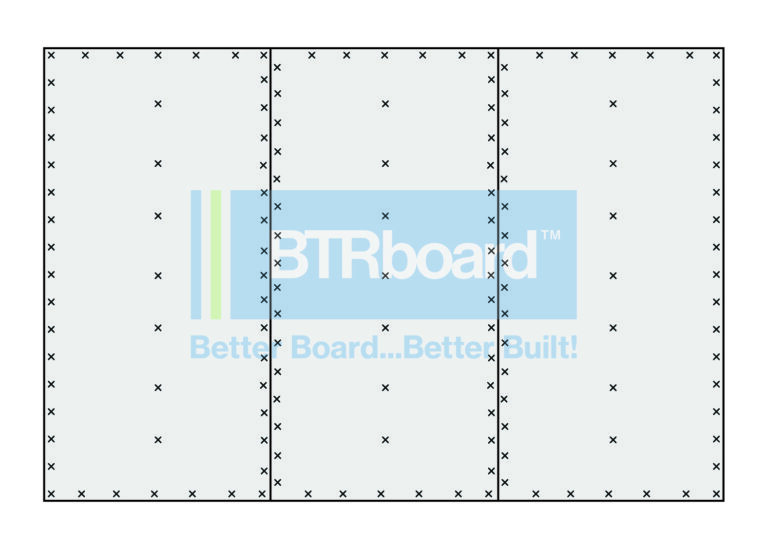
6″ o.c perimeter 12″ o.c studs Using 3 1/4″ x 0.121″ (or 0.131″*) smooth or ring shank nails.
* Larger diameter ring shank nails provide better shear resistance.
BTRboard FIRE-X substrate
6″ o.c perimeter 8″ o.c studs Using 3 1/2″ x 0.131″ ring shank nails
Fastening
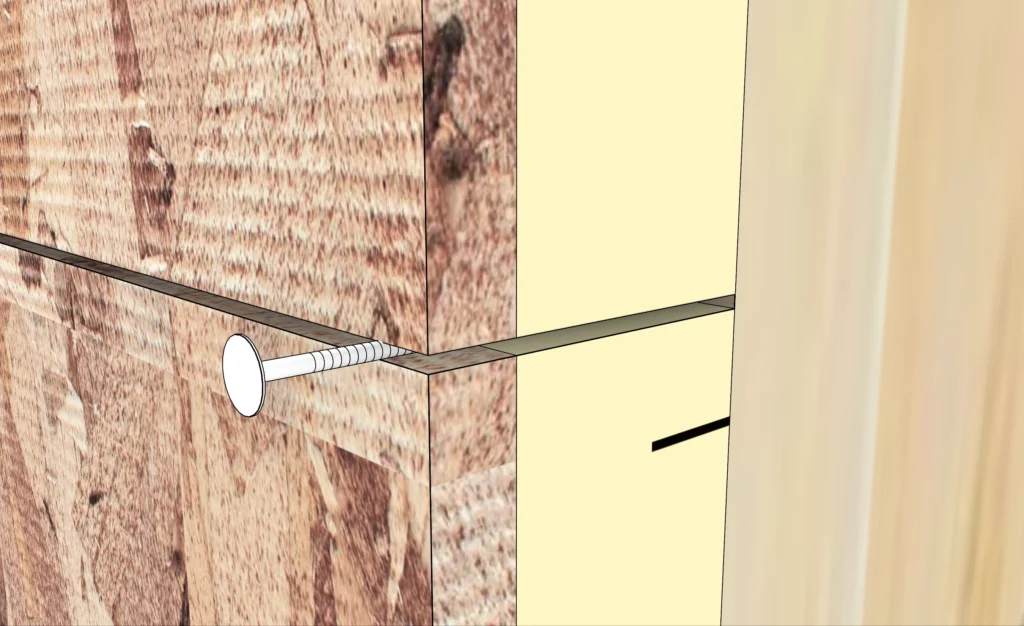
BTRboard fastening requirements vary by panel type. BTRboard OSB, BTRboard RESIST, and BTRboard FIRE-X each have product-specific fastener requirements. Refer to the current Installation Manual for fastener type, spacing, edge distance, embedment, and installation requirements.
Framing & Layout
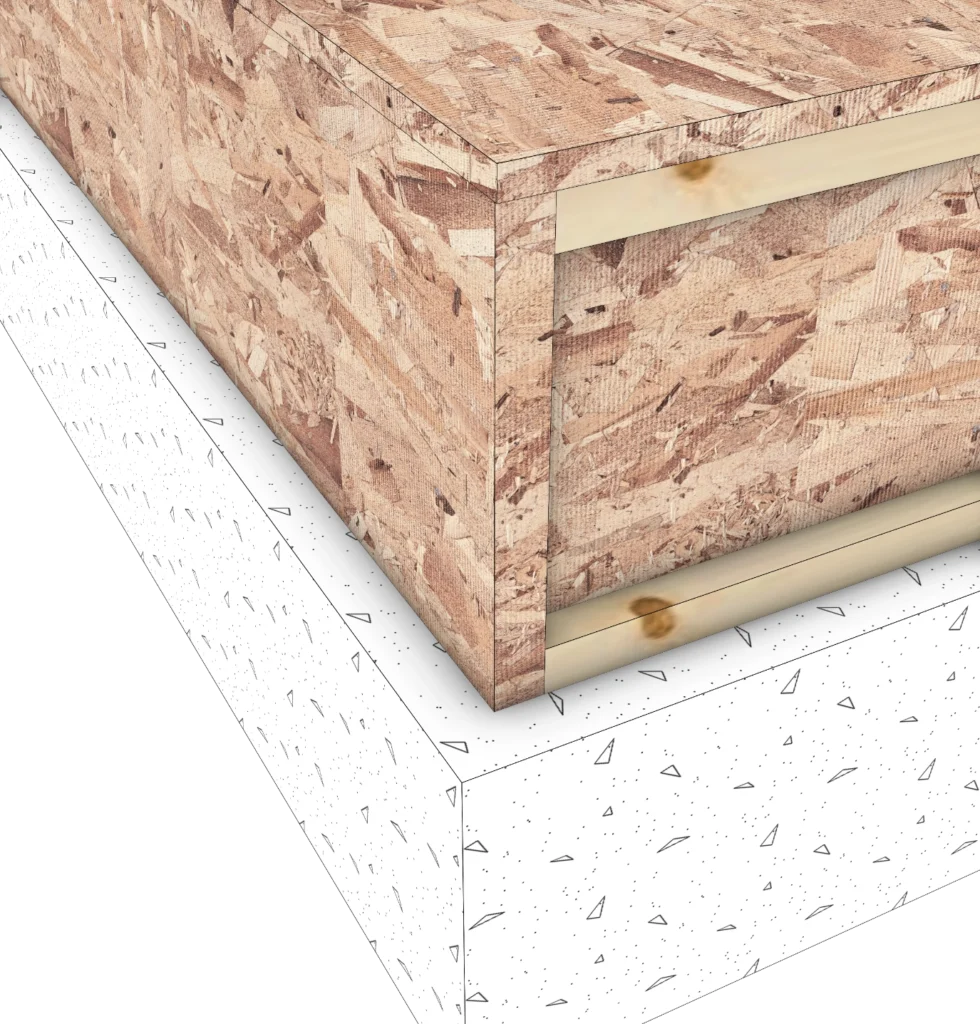
Rim alignment: allow a 1-5/8″ inset where required to align BTRboard flush with wall plane.
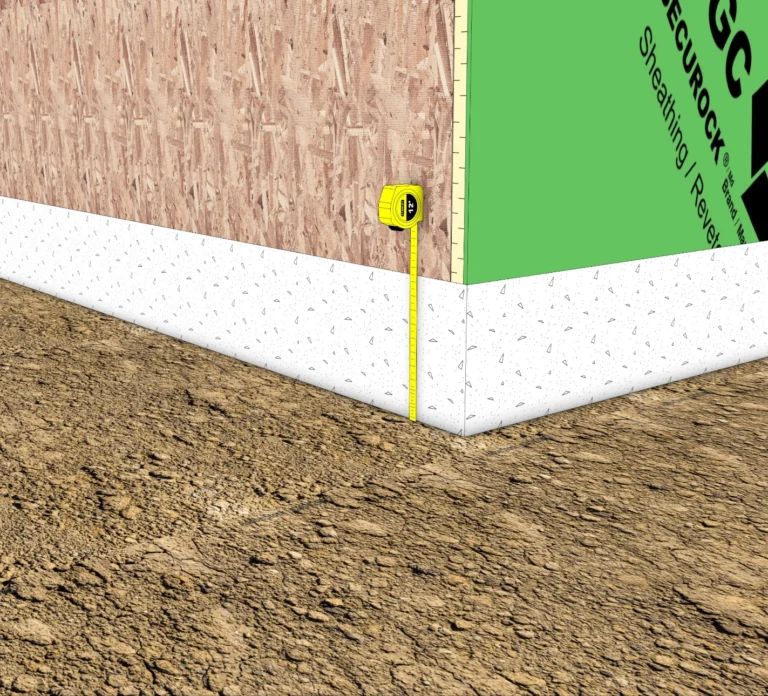
Ground clearance: maintain 8″ (200 mm) from finished grade to bottom of BTRboard.
Joint spacing:
BTRboard OSB/RESIST 1/16″ (2 mm) gap.
FIRE-X tight joints, fully supported as required
Backing, Blocking & Corners
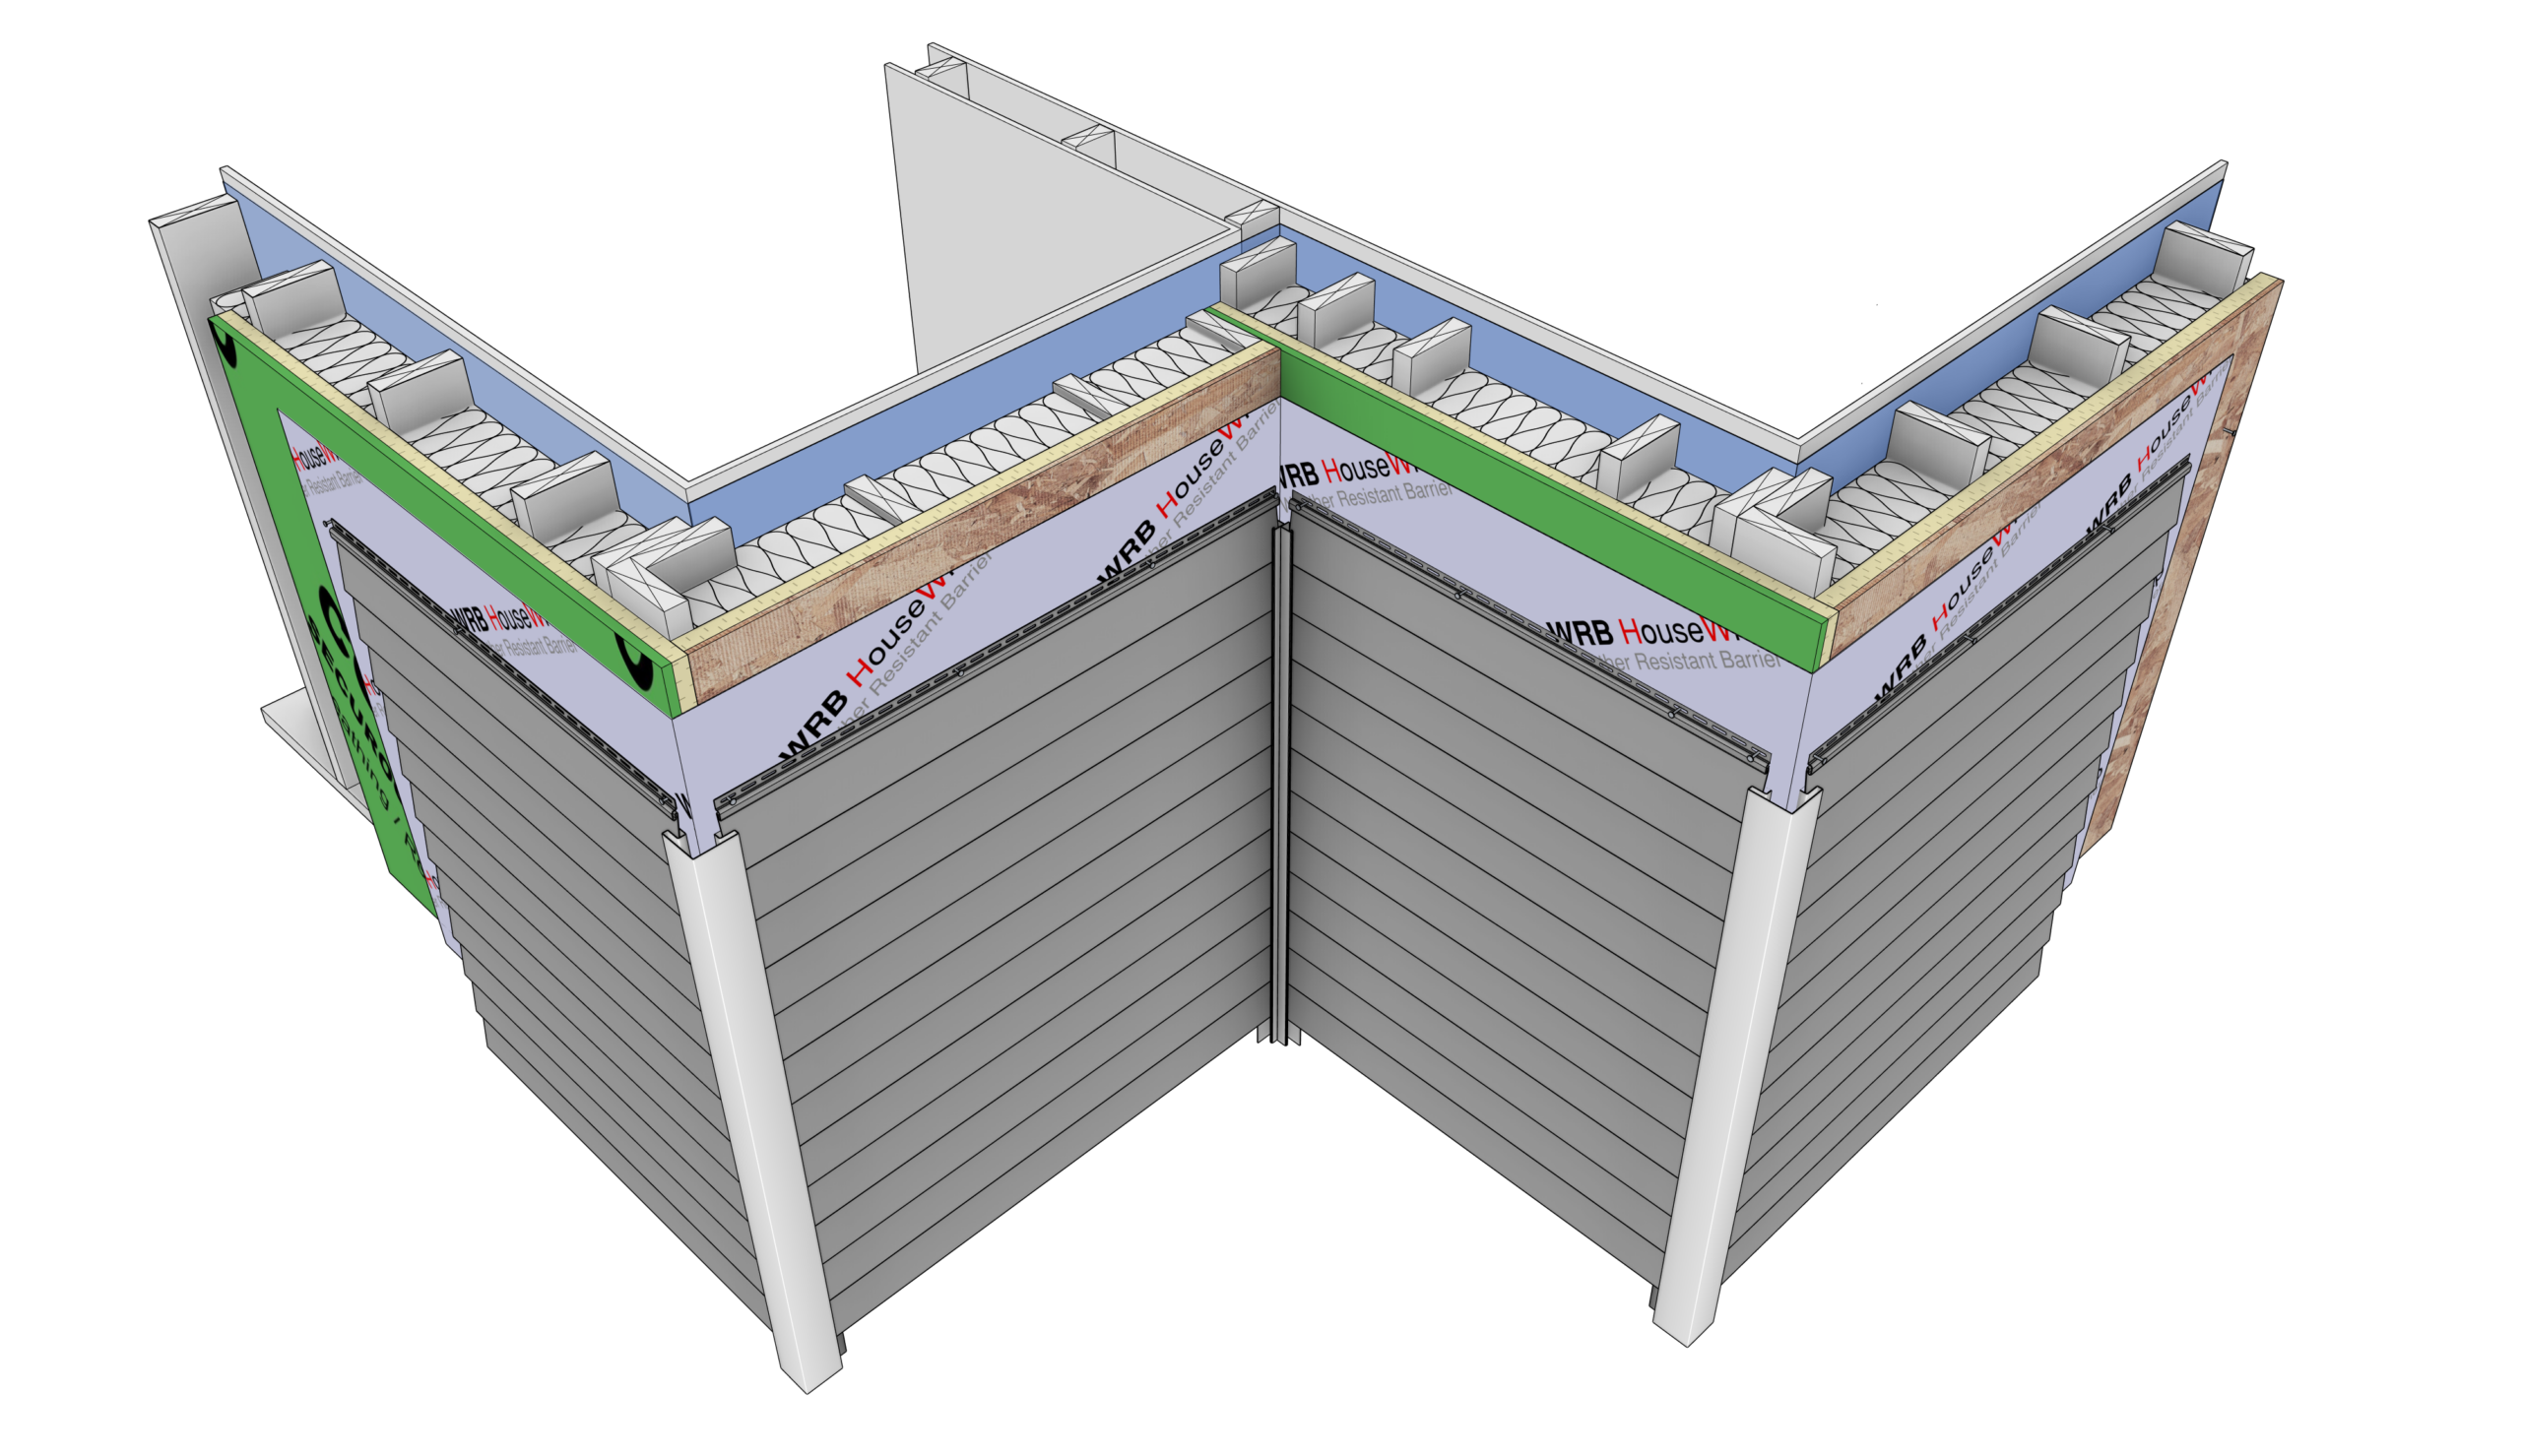
All BTRboard panel joints must be fully supported by framing or blocking. Vertical joints must land on studs, and horizontal joints must land on blocking or structural members. BTRboard FIRE-X requires full support at all joints and tight joints with no gaps. Corner details must be installed to maintain structural support and air/water control layer continuity
BTRboard FIRE-X Installation Techniques
Extend BTRboard FIRE-X panels continuously to the underside of the roof sheathing or as required by the approved assembly
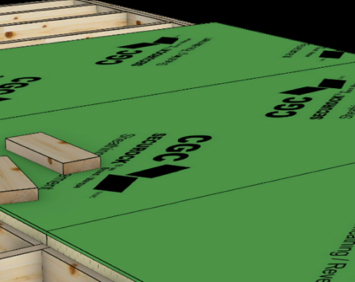
BTRboard FIRE-X: Install panels with tight joints (no gaps); all joints must be fully supported as required
Air Barrier Strategy
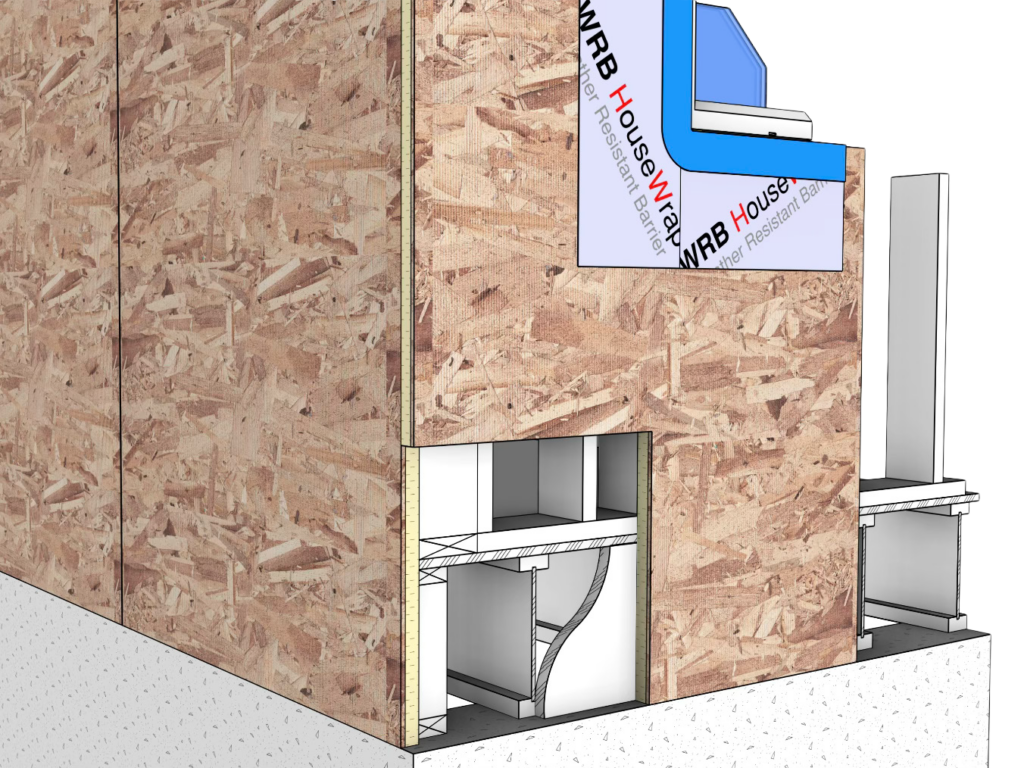
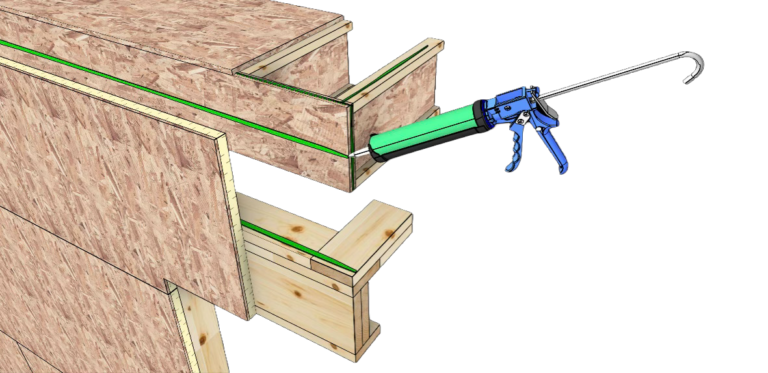
Air leakage is a major source of heat loss, discomfort, and moisture problems in wall assemblies. Many of these leaks occur at rim joists, floor-to-wall transitions, and panel joints, where sealing is difficult from the interior. A more effective approach is to control air leakage from the exterior, using materials and steps already part of the framing process.
Extend Sheathing over rim joist ends
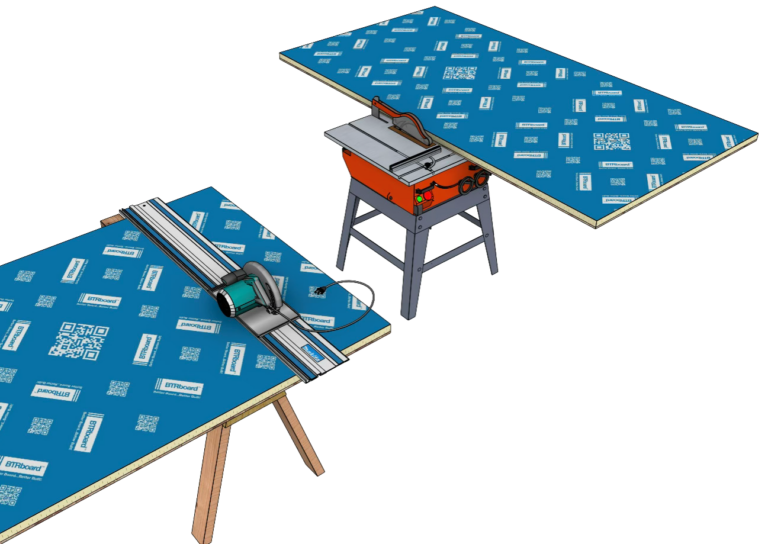
Keep cuts straight
Use sealants
Window and Door Installation Technique
Opening Preparation
Follow CSAA440.4 and window/door manufacturer requirements
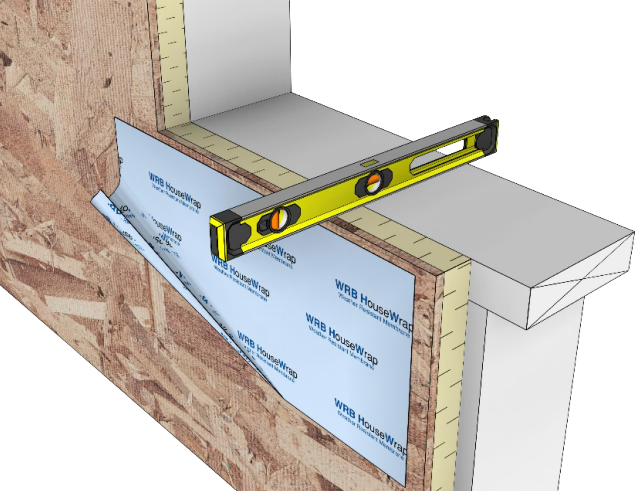
Cut BTRboard flush with the rough opening
Ensure sill, jamb, and head are level, flush, and properly supported
Provide blocking where required to support cut panel edges
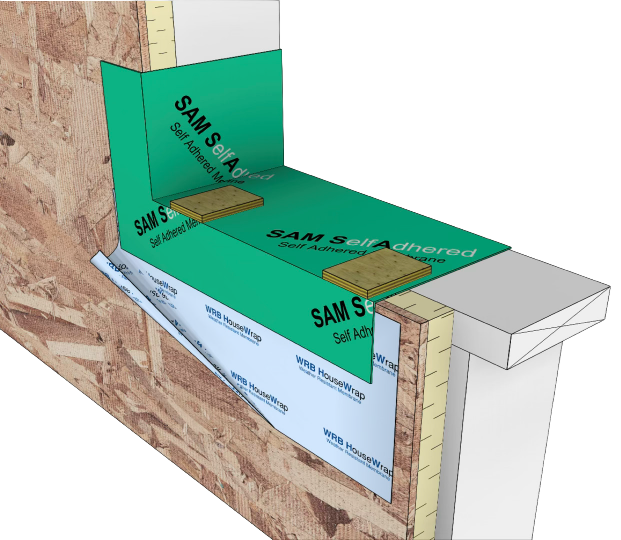
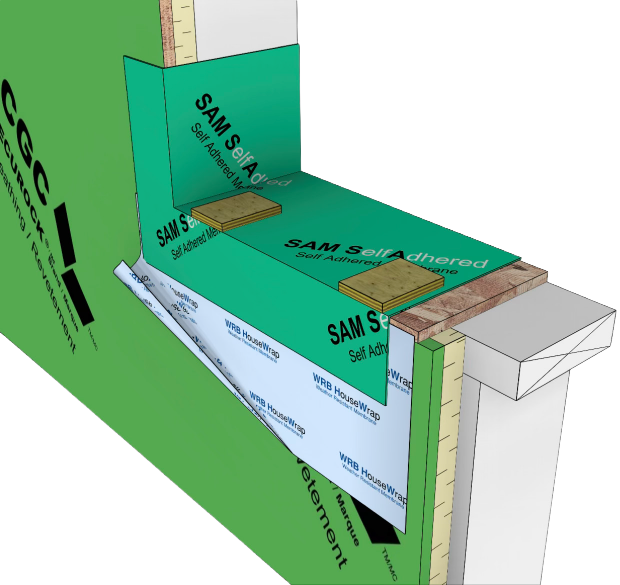
Provide 3″ support/shimming from the face of BTRboard, extending 1-1/2″ onto the rough sill, where required for window load transfer
BTRboard FIRE-X
FIRE-X requires a ⅜” – ⁷∕₁₆” OSB backing at sill and jambs before window installation to provide a solid substrate for load transfer, and flashing adhesion